How we did it…
 This page will feature articles setting out the bodges, er, methods that we, here at the MPLR have learnt thus far. If there is anything in particular you would like to see here, please drop us an email. (address on contacts page). More will be added as we do it but here is a look at something we did earlier……
Fuel tanker
We thought the addition of a tanker to supply our stock of diesel engines was overdue. Just in case you are interested, we have added details of its construction below.
We had a set of IP wheels, axle boxes and buffers knocking about in a box, and the weather being horrible decided to spend a day doing this. Great.
First off, the model is based on a generic type rather than any specific prototype. We browsed the web for an hour or so, looking at pics of the real thing and having got the idea into our heads, off we went.
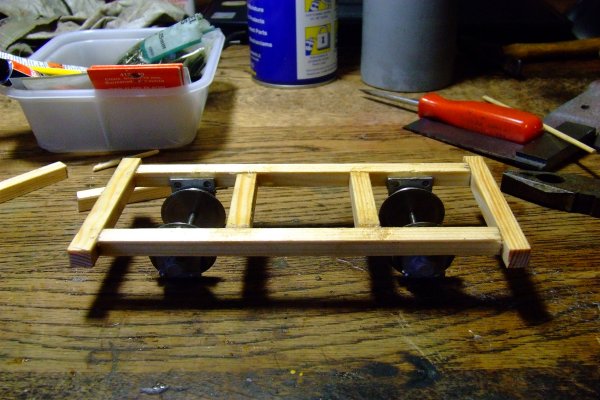
First off, we built the chassis. This is pinned and glued using 8mm section softwood. we have not added dimensions ‘cos if you want to make one, we are sure you will have better ideas than we did.
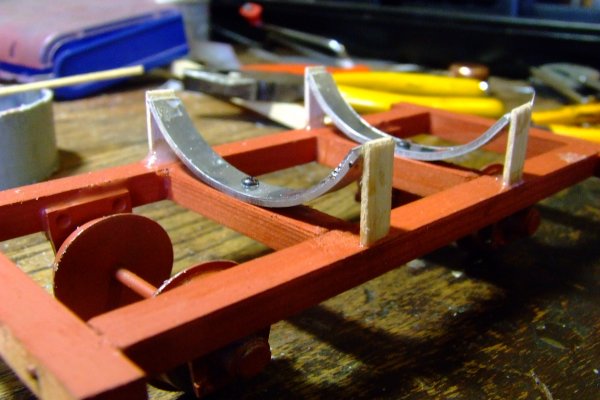
Wheel sets were added and the whole thing given a coat of primer. Cradles for the tank were made out of some ali strip and balsa, glued and screwed to the cross members.
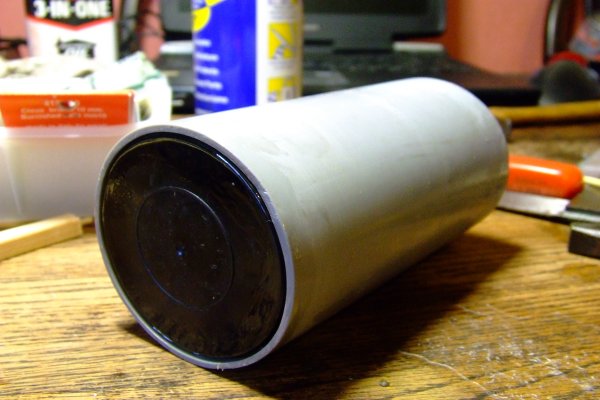
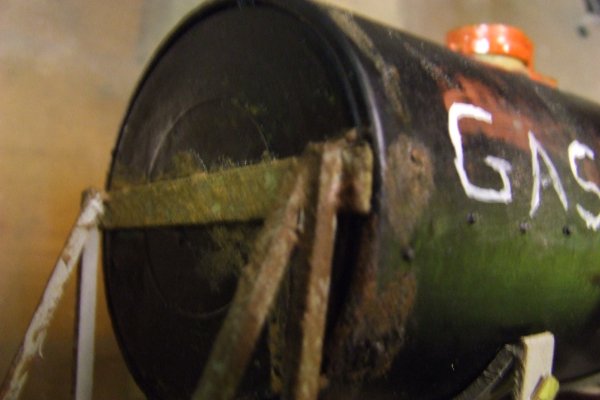
Meanwhile, the tank was knocked up from a bit of old drain pipe. The end caps are lids from spray cans, nothing is wasted here at the MPLR!
End supports were made from 2mm cross section softwood from the local model shop, I always knew I would find a use for it sooner or later. Rivets are small panel pins. Other fittings were made out of anything that seemed to fit the bill. The filler lid is a bit off of an old servo motor, the fuel pipe is an off cut of wire, hand wheel is an old broken brake stand and so on. After spraying the chassis corporate grey and the tank matt black the whole lot was epoxied together.
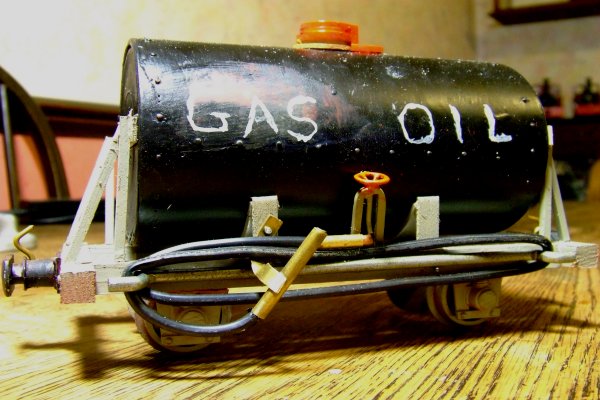
Still rather excited about ‘instant rust’, we felt compelled to have a go. Rust was added here and there for that ‘used’ look.
The final object…
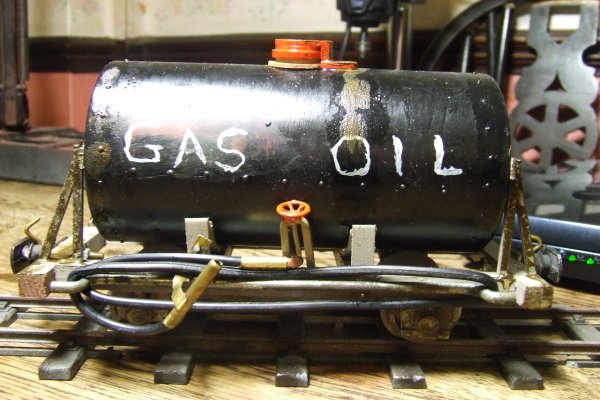
… not to everybodies taste, but this is the first total scratch build we have had a go at. Total cost £nil. (not including the days labour, of course). So who can complain. We think it will look just the job out on the railway. Look out for it doing its stuff!
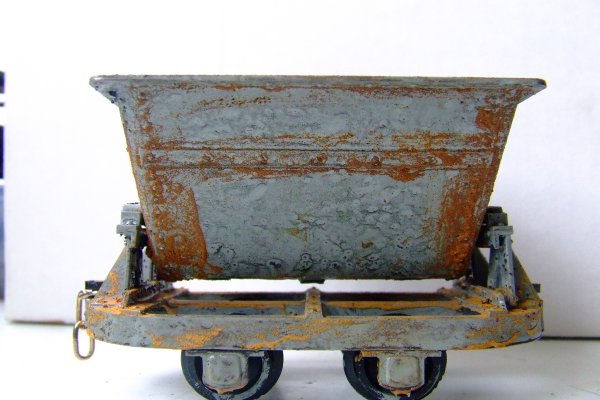
==========================================================
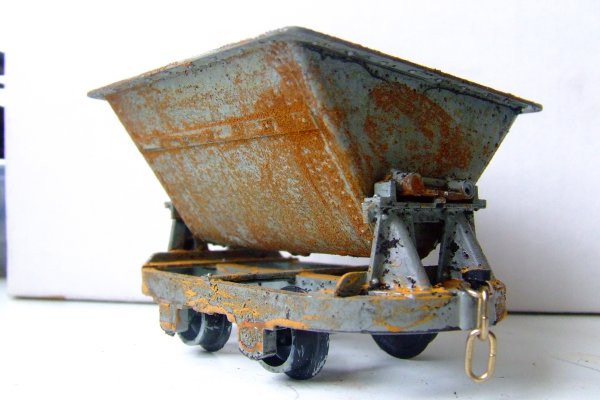
Talking of ‘instant rust’ here is another shot of the new skip wagons, all rusted up. This stuff comes in a three pack kit. A sort of runny PVA type glue, iron powder (not regular filings) and an acidic ‘starter’ solution. Over about 48 hours it just keeps getting better. It seems very hardwearing, but only time will tell.
==========================================================