St Thomas Chapel
We decided some time ago that we needed a church on the MPLR but had never found the space to put one. It just so happened that we suddenly found a space available due to the movement of some privet that had simply become overgrown. There was a space, it needed filling quickly, after all the Open Day was only two weeks away! So we went on a tour of the local churches to get some ideas. We had originally wanted to have a ‘tin chapel’, there are a few in our area but couldn’t find one to our liking. Plus we only had a limited amount of space so we couldn’t have a full blown church either, taking into account that it was going to be right next to the Pitz Cafe which was the first building we made and it has to be said it is slightly overscale! So we finally decided on a small stone church based on St Mary the Virgin at Little Laver and St Marys at Moreton.

So our chapel, was going to be small and simple, it nearly had a bell tower added but that thought was soon discarded and we couldn’t make the rotund end very easily (in less than 2 weeks). The carpenter was sent for and after much sawing we had the 6 pieces that make up the basic building. The windows were cut out with a jigsaw but no door was cut. Before anything was put together, the window frames were made by soaking coffee stirrers in boiling water to make them more pliable. Then we cut them slightly too long and put them inside the window so that they formed an upside down V shape. A suitably sized tube was then slid up towards the top of the V forcing the stirrers to the edge of the window and forming a nice ‘church window’ shape at the top. Once they were all dried a small piece of wire net was glued on to the back of the window to make the ‘leaded’ window look, the window was then ‘glazed’. The picture below shows what the window looks like from the back, luckily no one sees this!

We decided to have a large stained glass window at one end but wanted the ‘light’ to shine through so used thinned acrylics to create the picture. We only ‘stained’ the one window and just used the net and glazed the rest. While the building was still in pieces we also put the ‘stonework’ on surrounding the windows and painted them. Finally the building was put together (barring the roof) and the ‘stonework’ put on the edges of the building as can be seen in the next two photos.


The next part is very messy but great fun! We covered all the windows in plastic to stop any little bits getting between the wire netting, it was a last minute thought but a good one! We laid the chapel on its side so that we had a flat surface to work on, then covered it in a thick layer of PVA making sure that the stonework and windows were not in contact with the glue. Then sprinkled and pressed in a layer of stones (in this case fish tank gravel), working from the bottom of the building upwards in ‘bands’ until the whole wall was covered and the stones were in a single layer and bedded into the PVA.
 This looked quite good on its own but we were worried that the PVA as it dried would shrink away from the stone, plus it looked a little stark. We gradually worked our way round the whole building until all the walls were done, leaving a part bare where the front door would be. It takes quite a long time for the PVA to dry fully so this was done over several days.
Now the fun starts! Mixing up a small amount of PVA, water and cement dust until it was the texture of runny mud, this was applied to the stones with a large paintbrush making sure that it seeped between the stones and round the edges of the stonework.

Some of the stones loosened as the paintbrush went over them and so these were removed, as were some of the stones that were just not looking correct around the stonework ie actually on the stonework or at a funny angle.

We worked the mixture well in as this is going to keep the stones in place and make the whole thing more weatherproof. As it started to dry off we then went over the stones with a damp cloth wiping off the excess and cleaning up the top surface of the stones so they poked through the ‘grouting’.
 You can do this as much or as little as you want depending on the desired effect. We quite liked the overall effect of just a little cleaning up.

As you can see in the picture above, at some point when we were having to wait for the cement mixture to dry, we started work on the door and porch. The door was easy as it was just glued on to the wall, the porch a little harder as it had to be sturdy.
 The door can be seen a bit better in the next picture.

Finally, the roof was ’tiled’ with plastic roofing sheets sprayed with a textured spray for use on decorative pots etc, and fixed to the building. the porch the same and suddenly it was built!

We did add a few little extra details which we haven’t explained here but you can think of your own!

In the pictures above you can see the ‘stonework’ around the windows and down the edges of the building. This was added to all the windows and the edge stones put on after the building had been put together (apart from the roof).
April 2014
After 2 very bad winters and one summer of being totally left due to ill-health the poor chapel was in a very bad state indeed. So, we decided that it needed a revamp and certainly a new roof! Unfortunately, the tiled plastic sheets had blown off during the winter despite having been nailed on last summer! Also the porch had also fallen off and something needed to be done.
It was decided that the roof was going to have to be tiled in real slate. This was because we had decided that we needed to make all the buildings pretty much weatherproof. We like to keep the buildings out but the winter and winds are not good for them at all so we now have a new policy of bringing them in the winter.
We had tried using real slate tiles for the cottage which had suffered with the same problem but decided it was too expensive buying them in and decided to make our own (see the article ‘Real Slate Tiling”) but at the same time add a bell tower to St Thomas Chapel! This was going to turn out to be a labour of love……
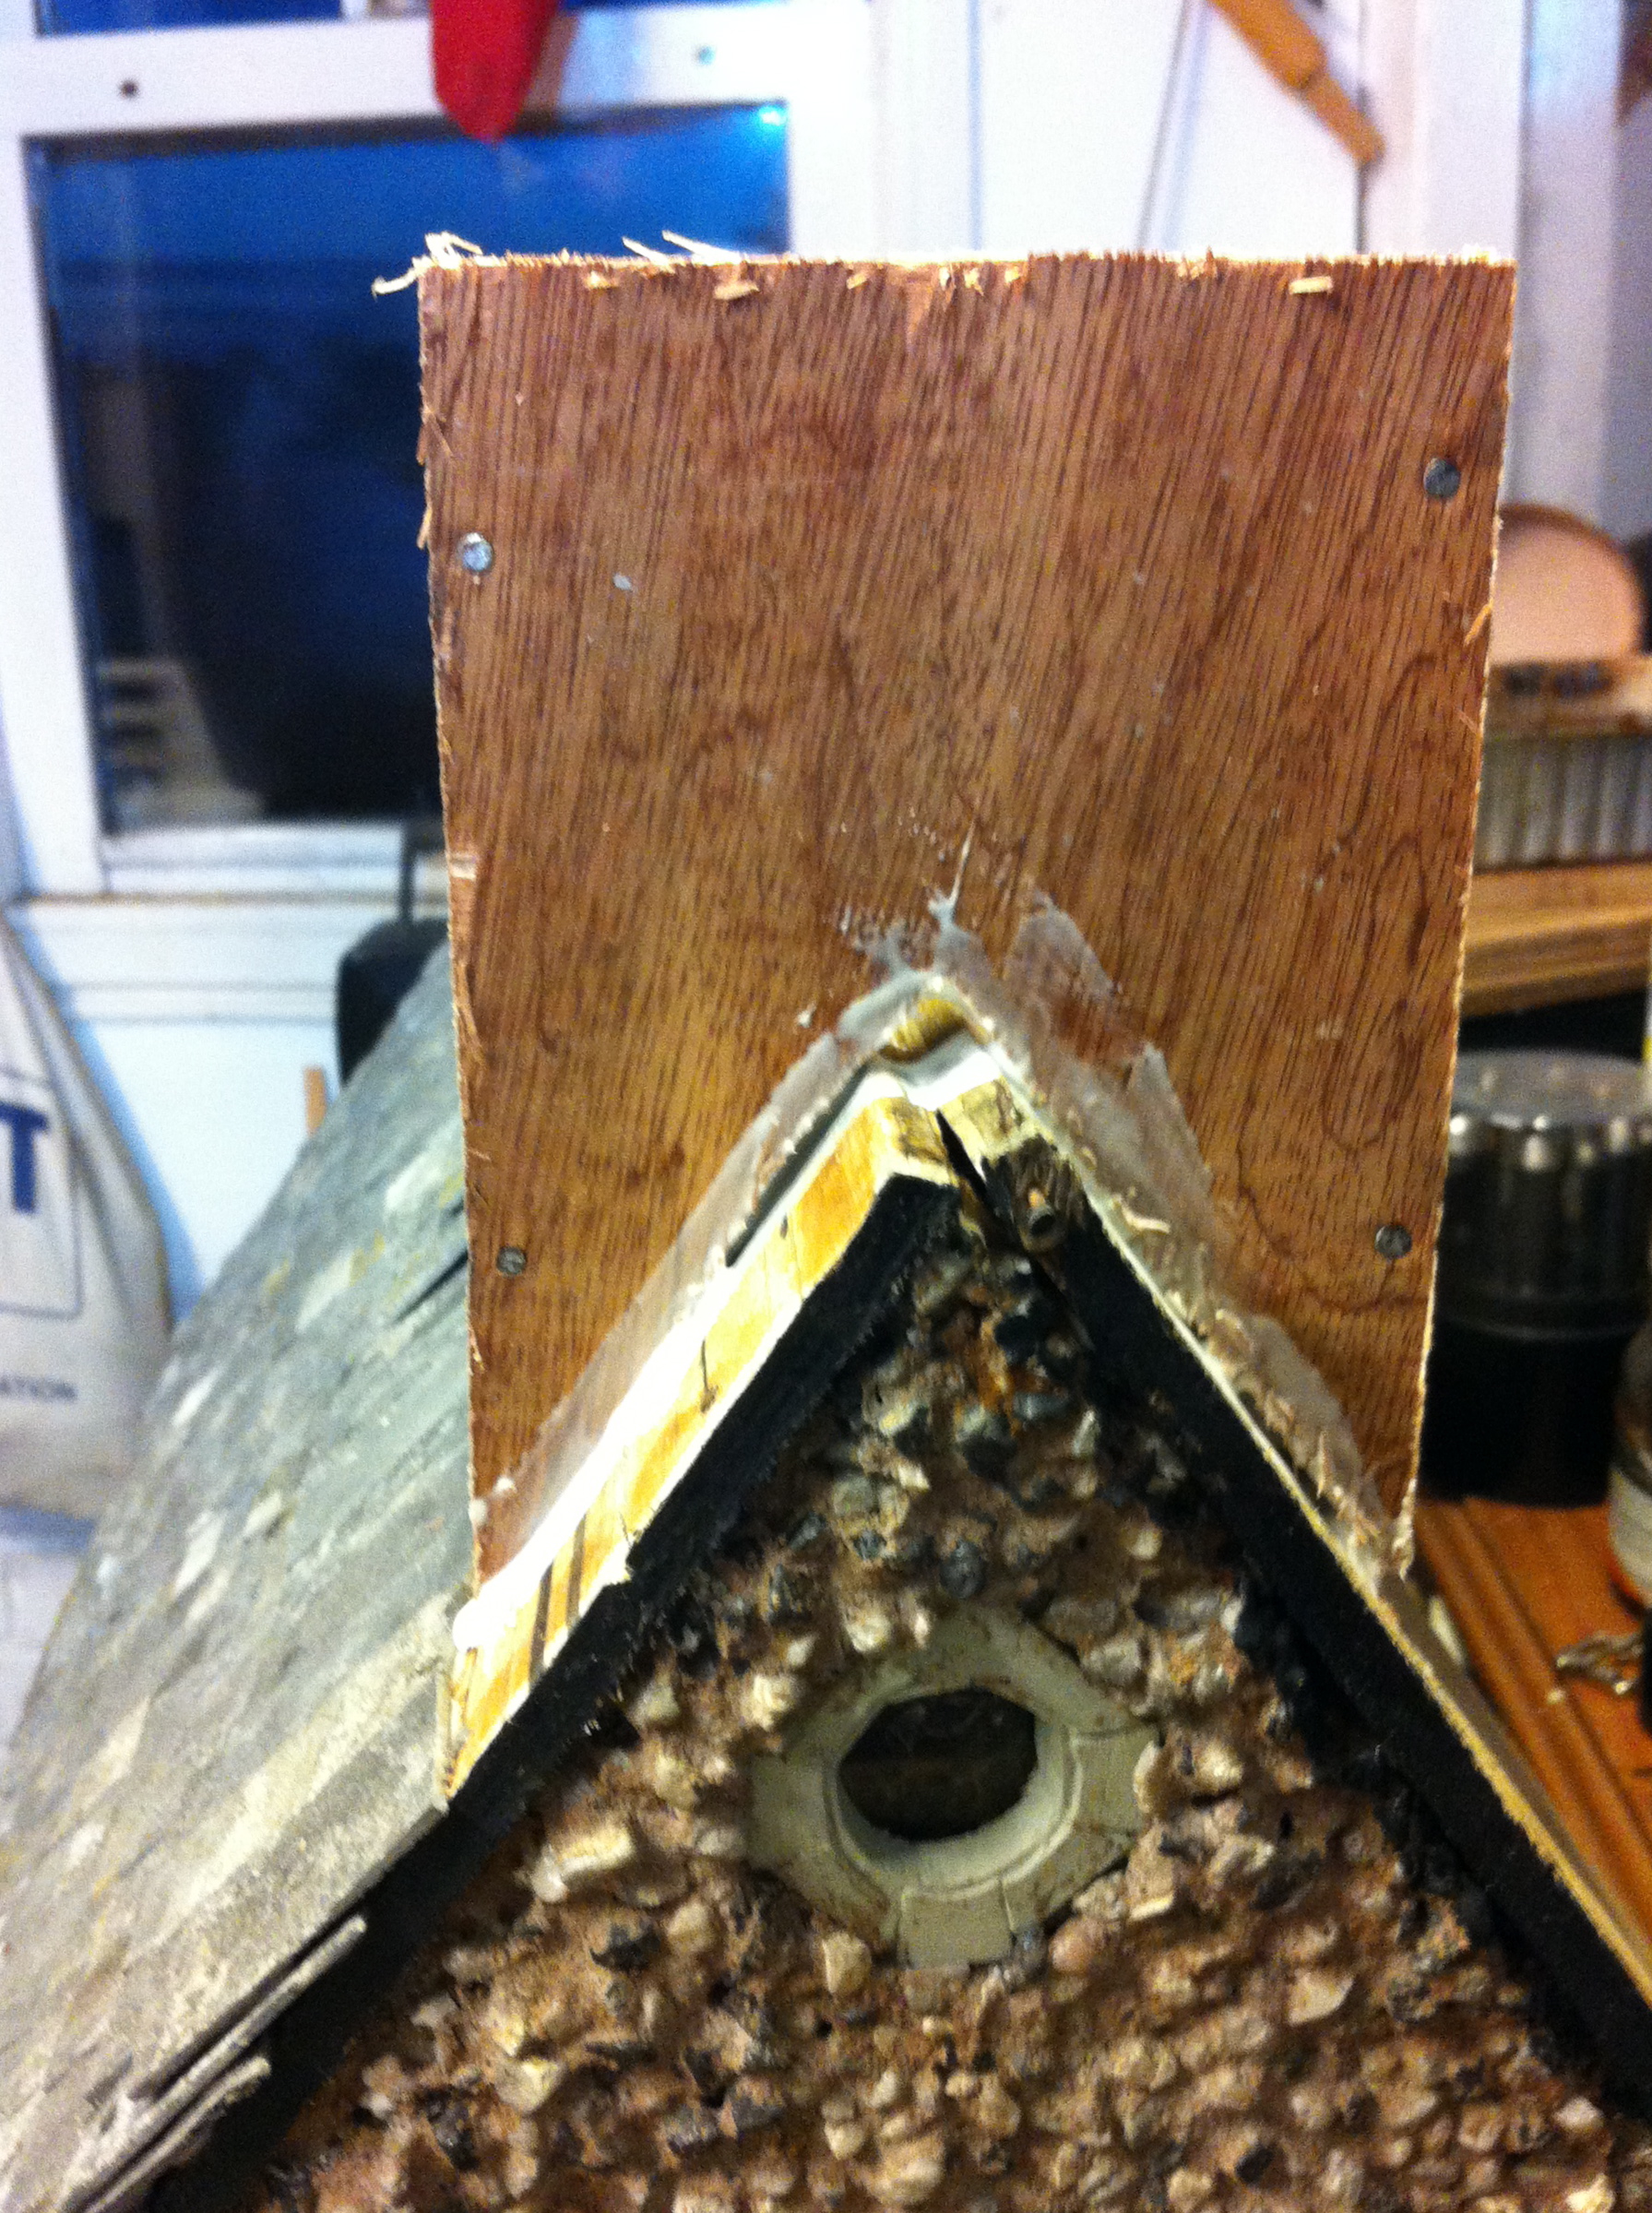
First we had to decide the size and position of our bell tower after we had done a bit of research on the type of tower it was going to be.
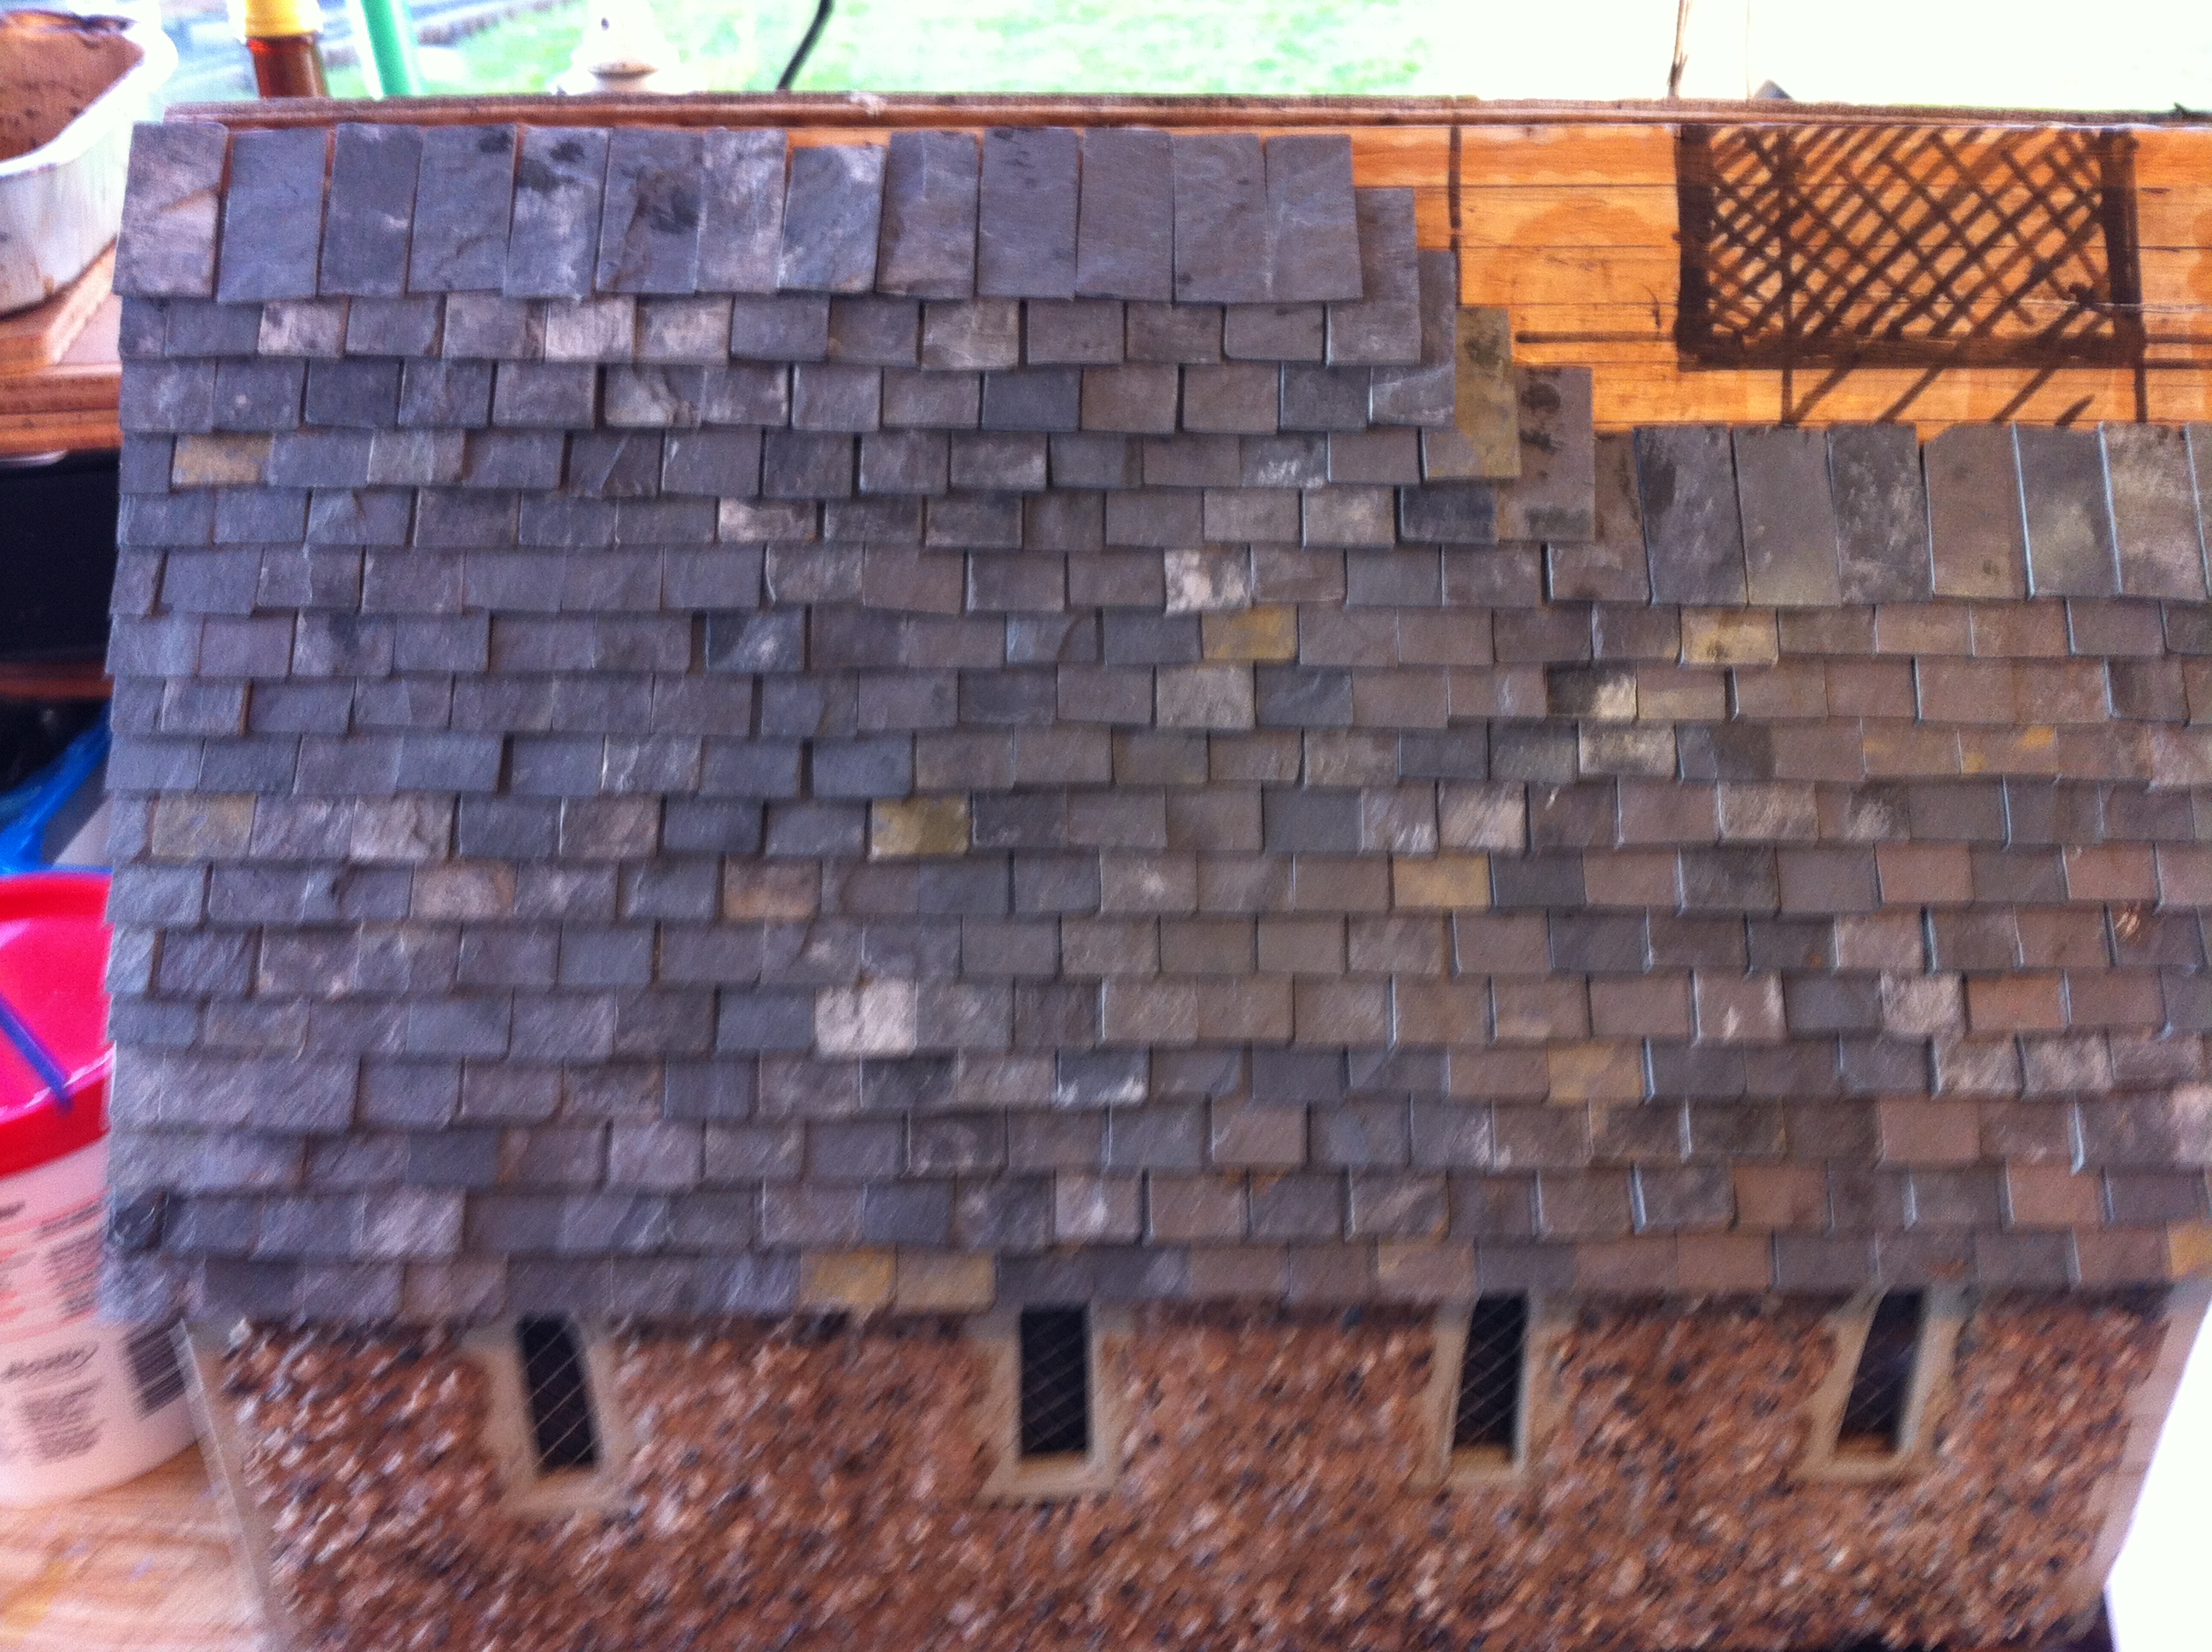
We are not going to go into the tiling at this point because that will be covered by the other article. So we tiled up to the point were the bell tower was going to be attached and consulted with the carpenter.
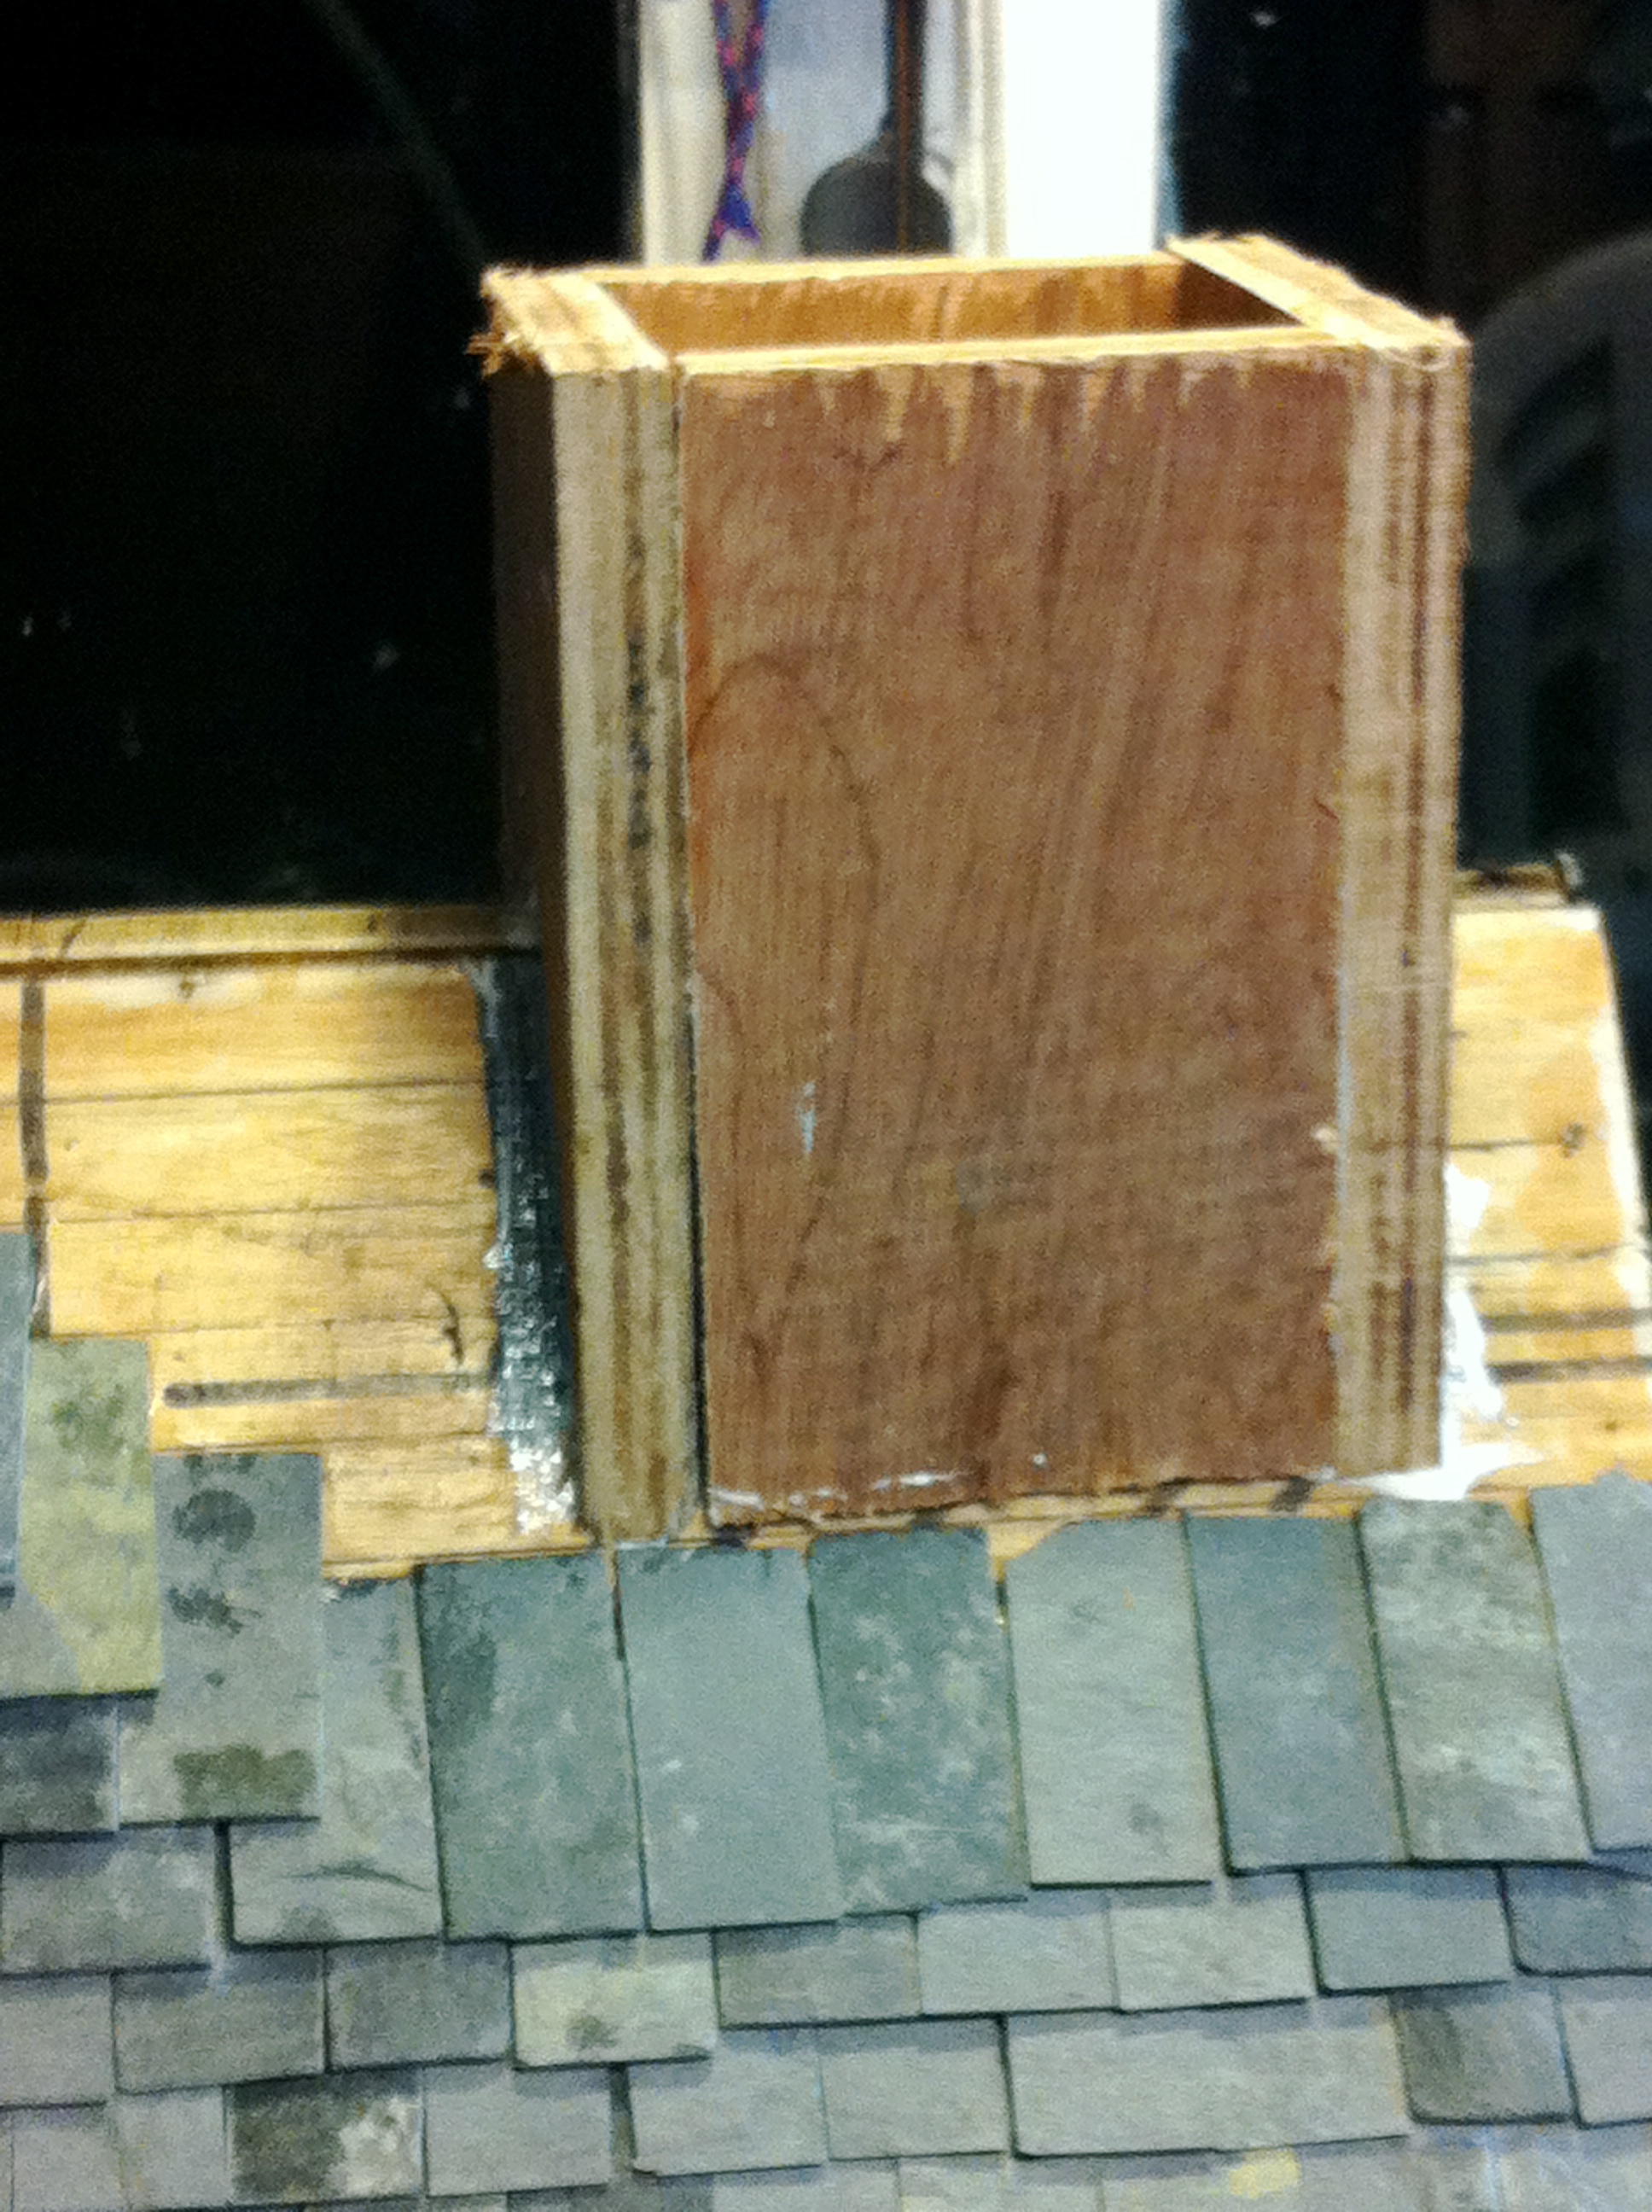
A very simple shape really just 2 sides of a box and 2 sides with the V cut out at the bottom to fit over the roof, not as easy at it looks!.
So, next is the spire, we had looked at quite a few local churches for this and there seemed to be a very common shape so it was back to the carpenter for this one! It looks a bit rough at this stage but after all it was going to be covered so not so much of a problem.
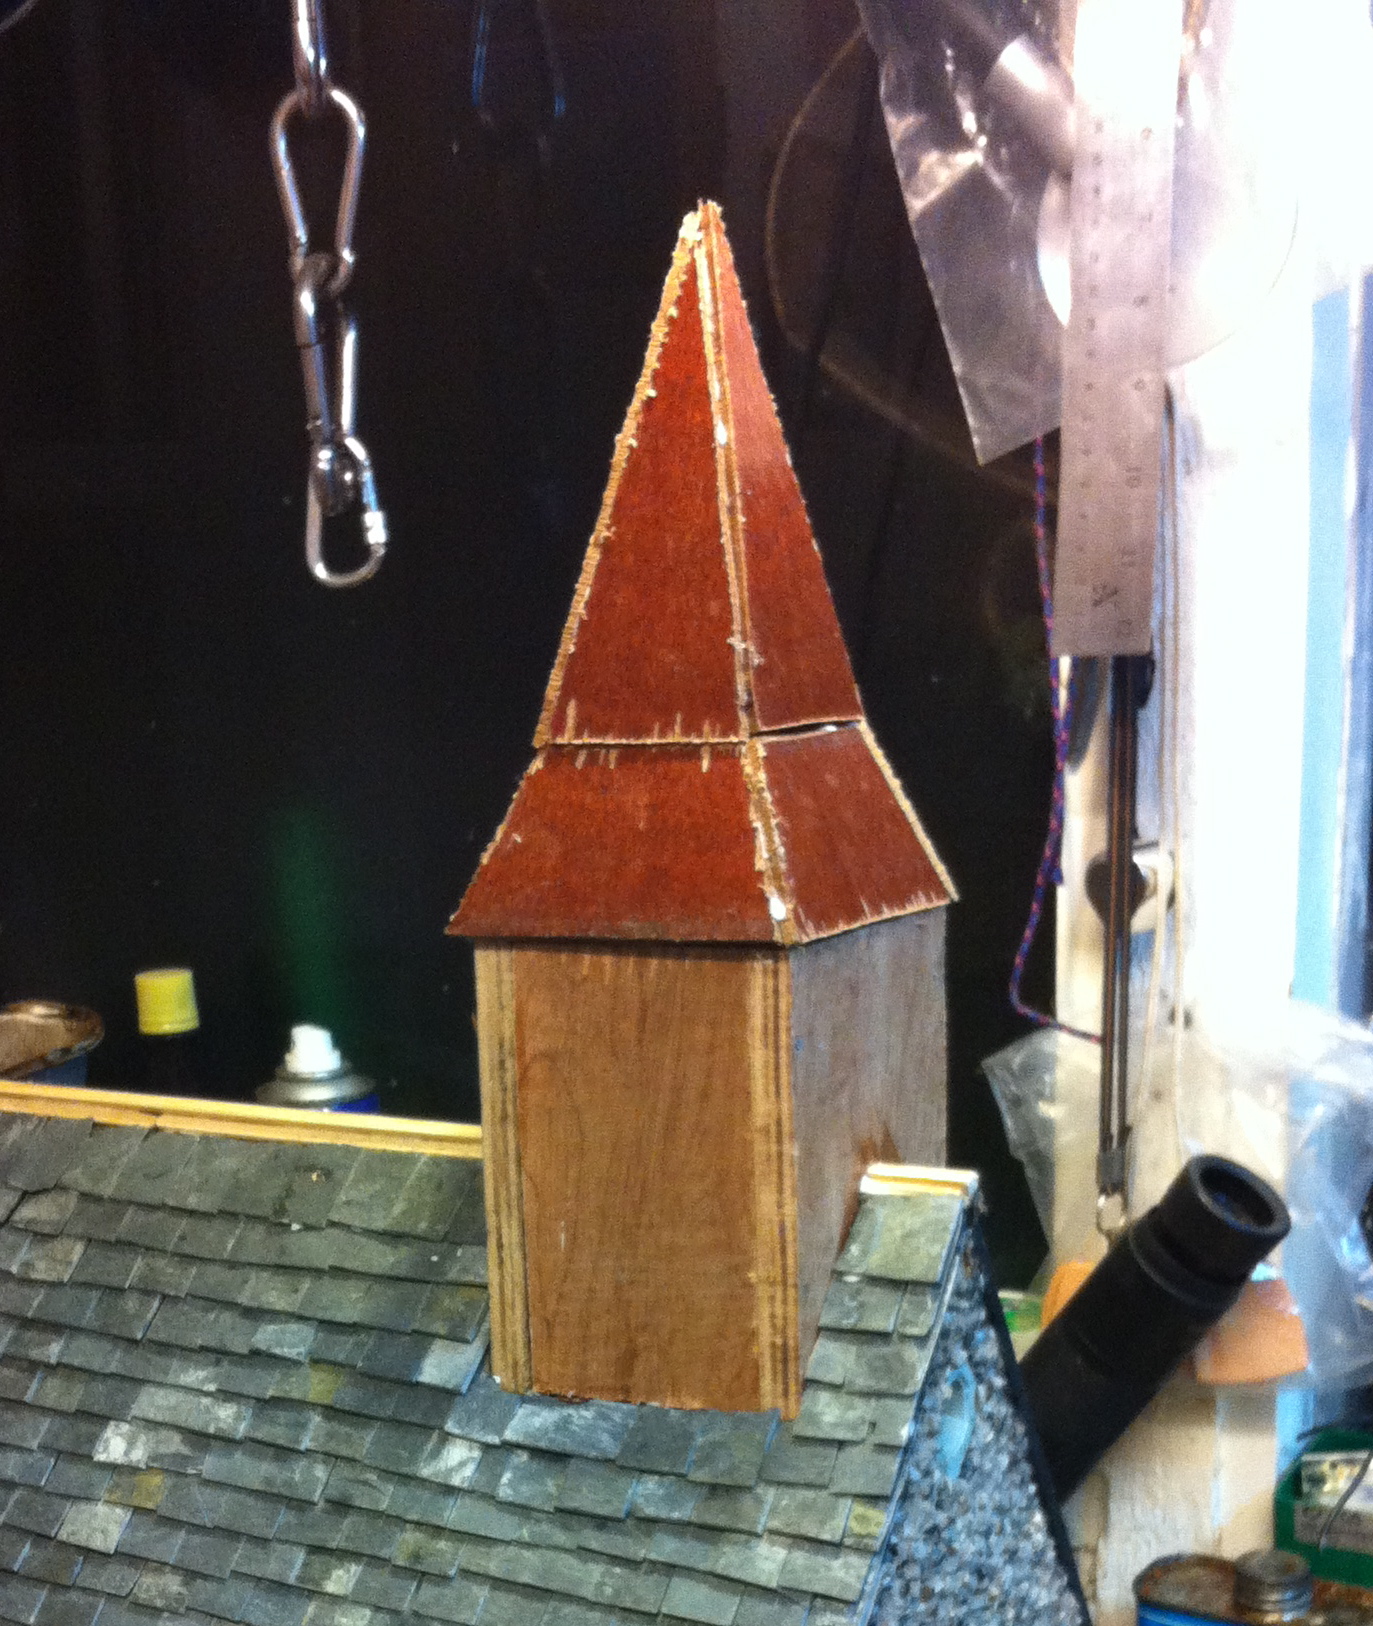
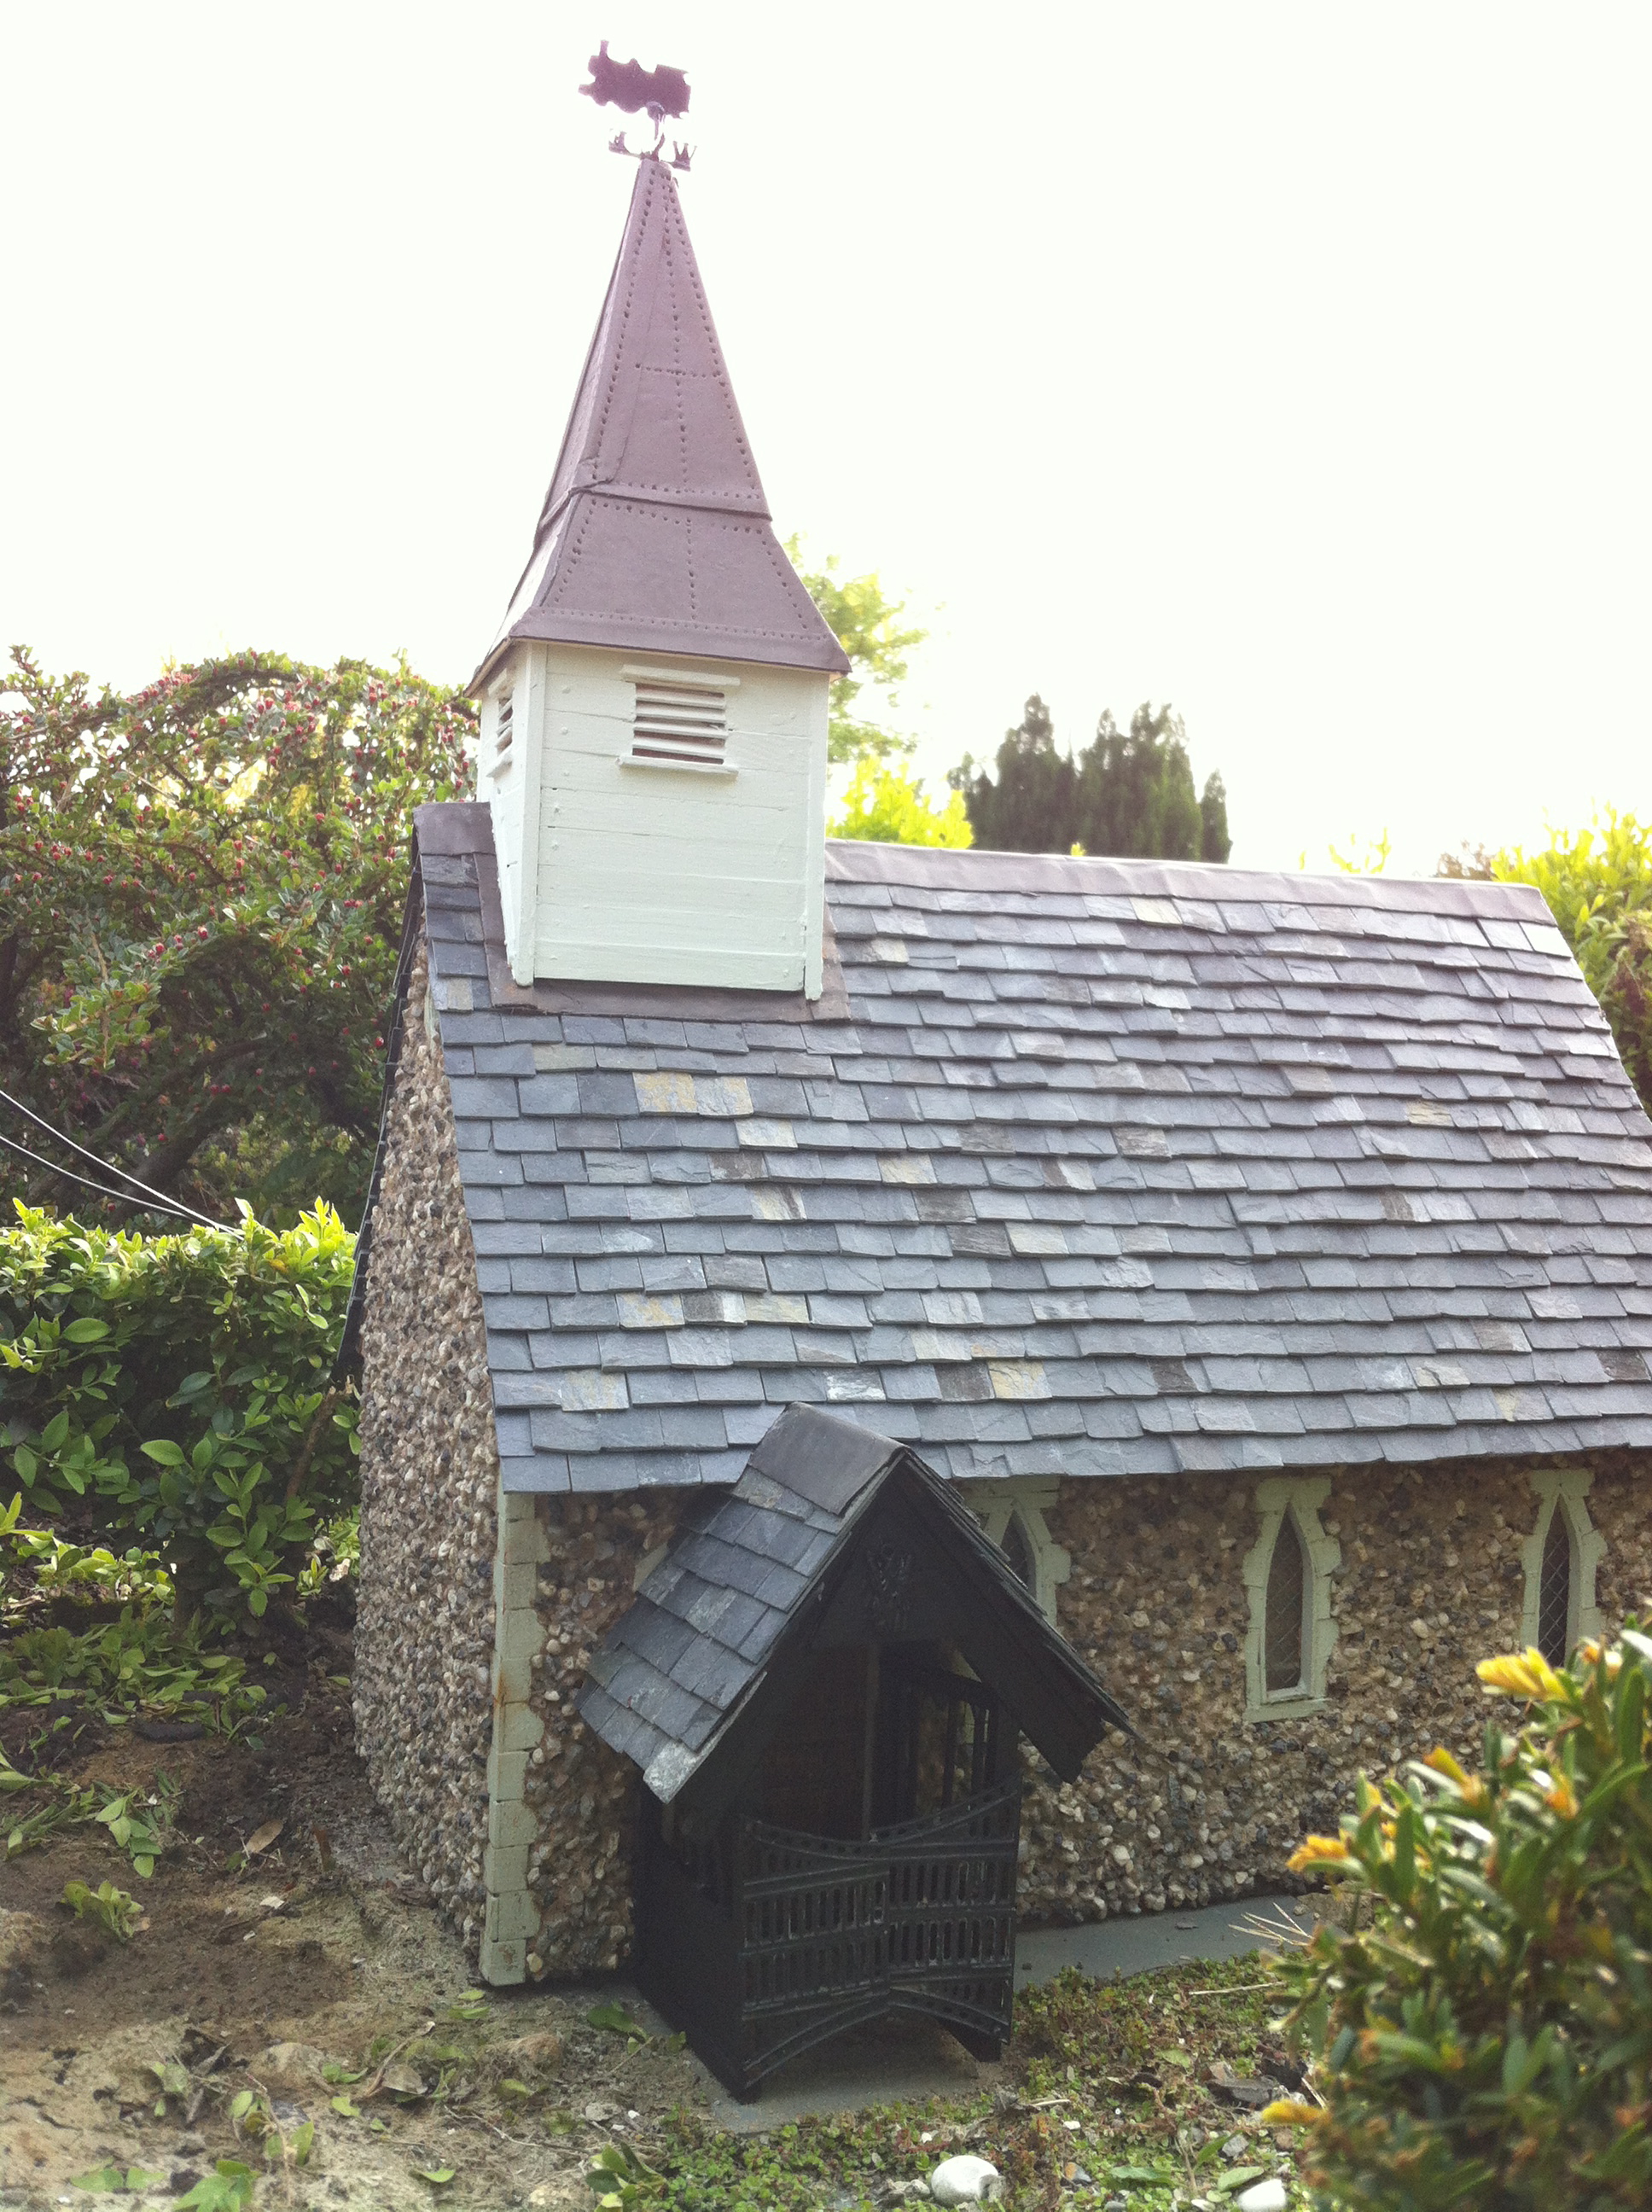
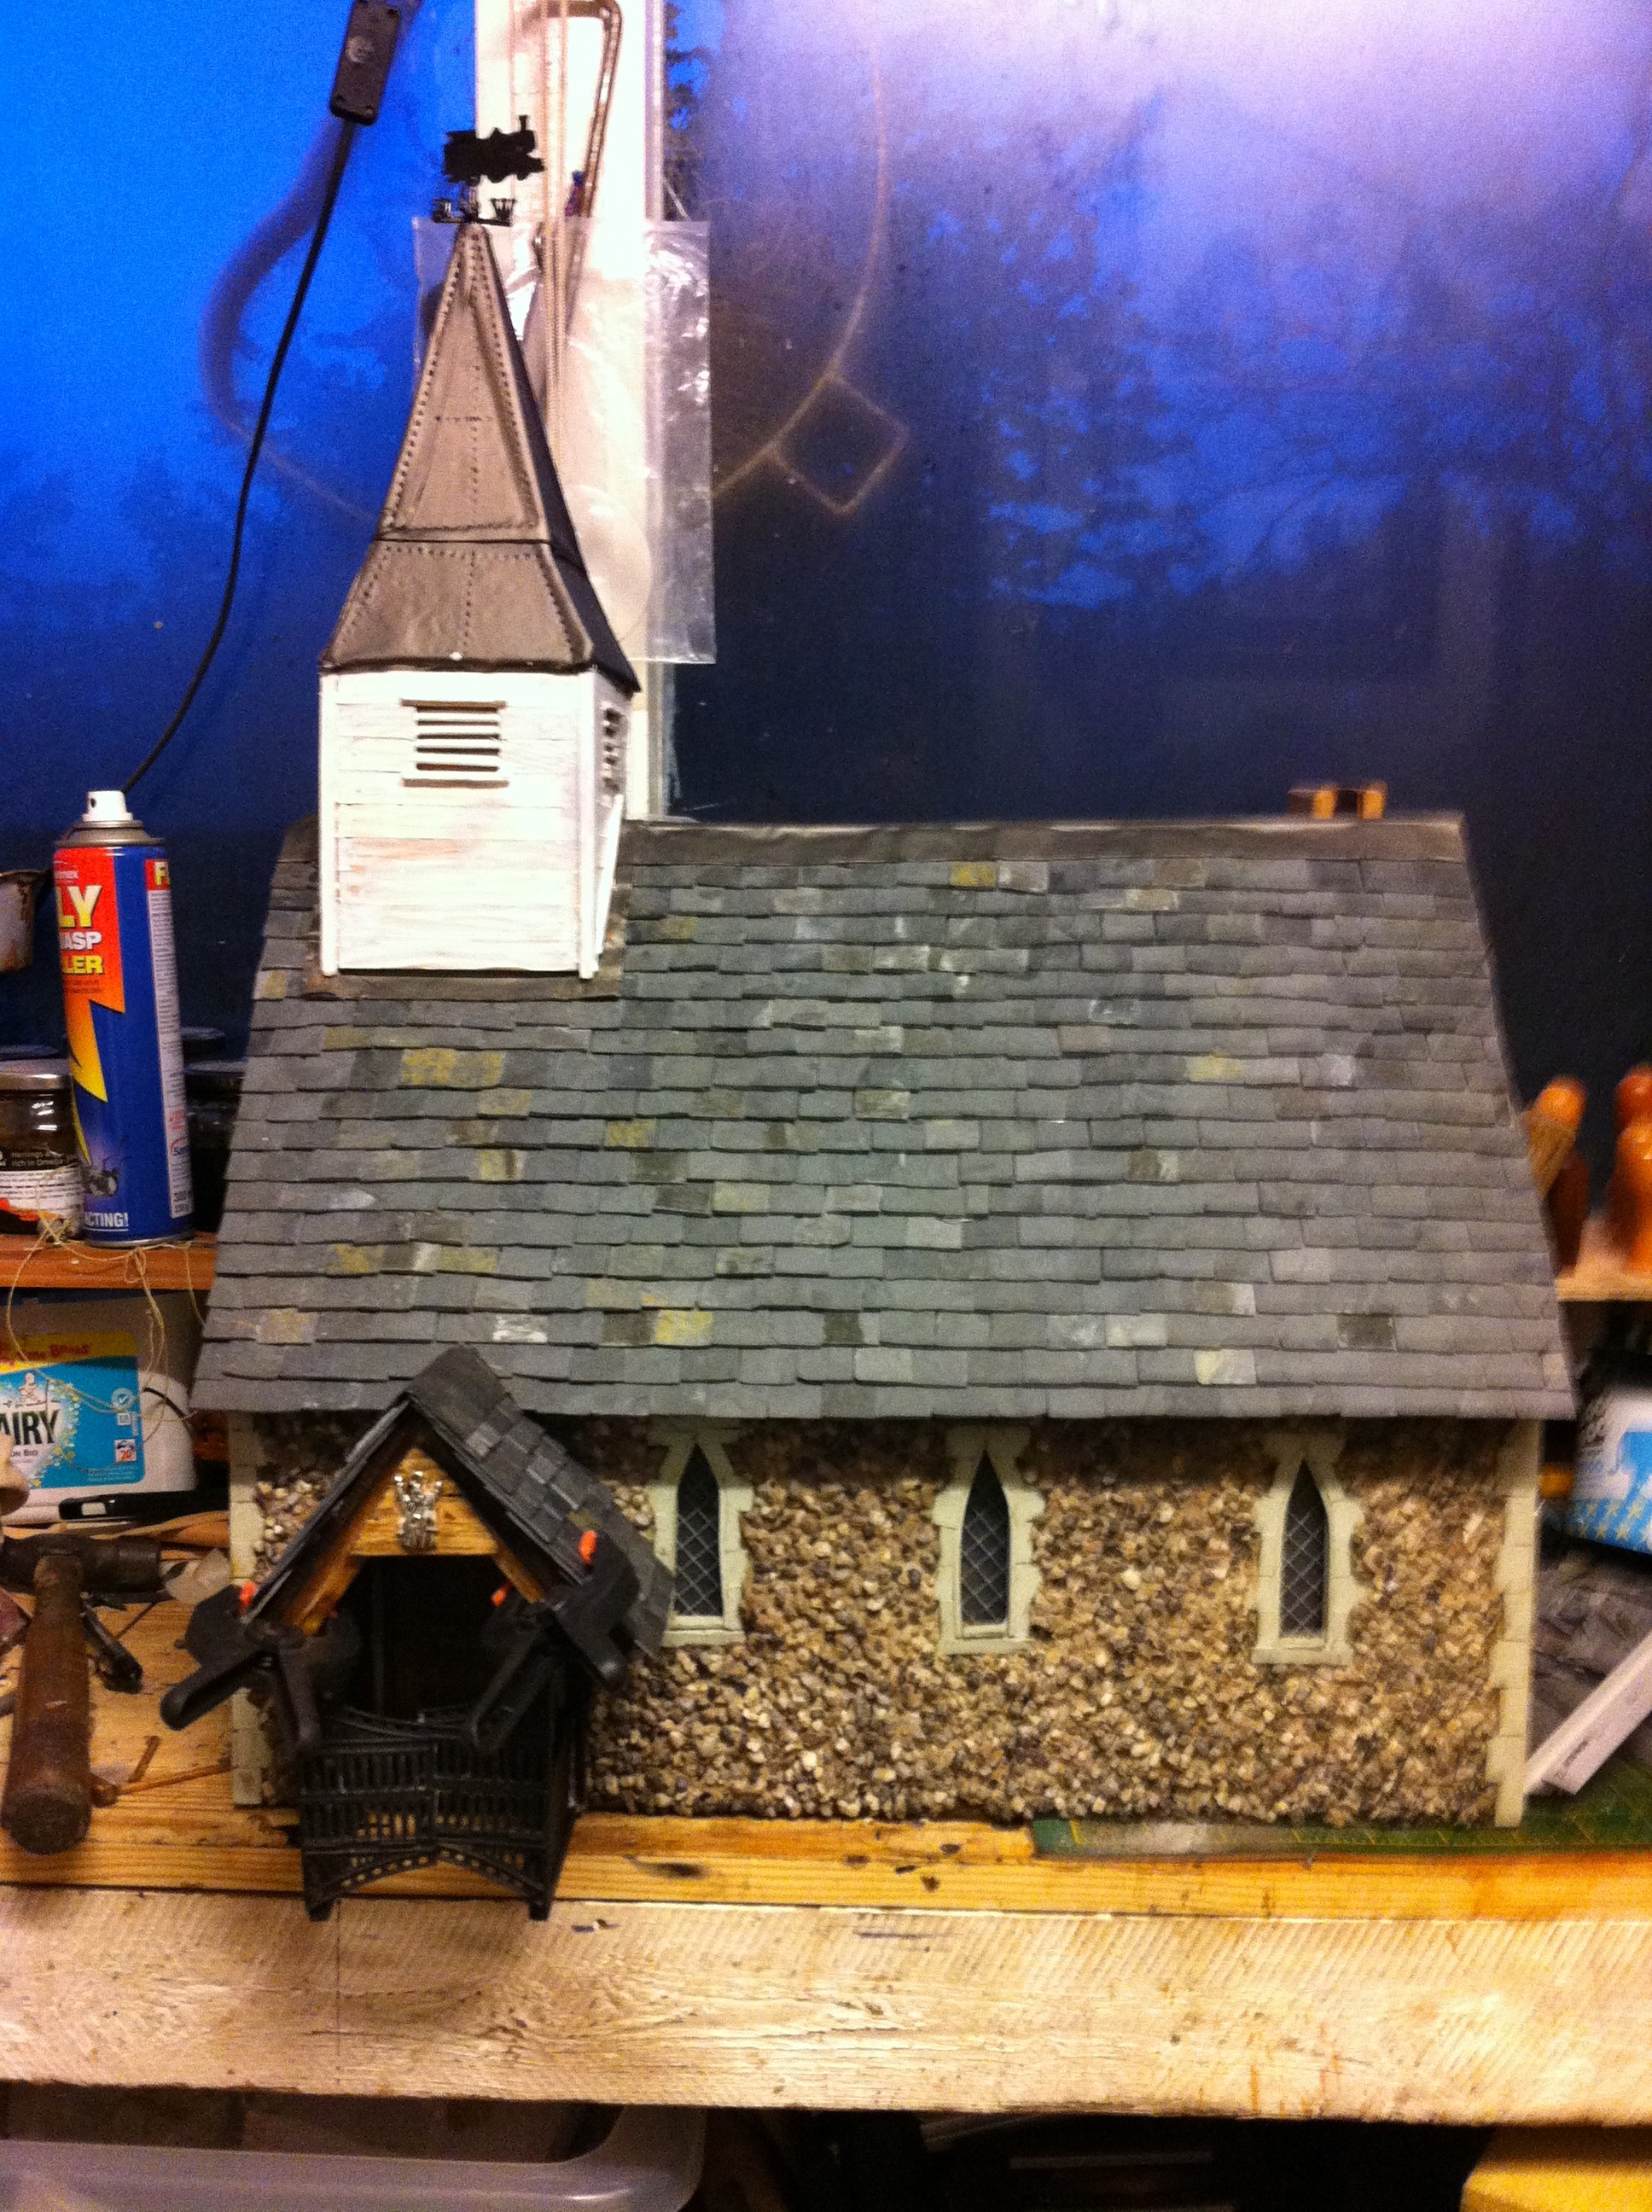
There you have it, one bell tower. We covered the spire in real lead flashing, it was nice and easy to put on came with it’s own self adhesive and then ‘decorated’ with ‘nails’. The tower itself is just clad with wood strips and the slats in the windows are coffee stirrers. In the picture it is showing the new porch which is still being held in place with clamps while the glue dries! After we put it out we found the original porch, never mind!
We wanted a wind vane and of course there was only one thing we could put on the top!
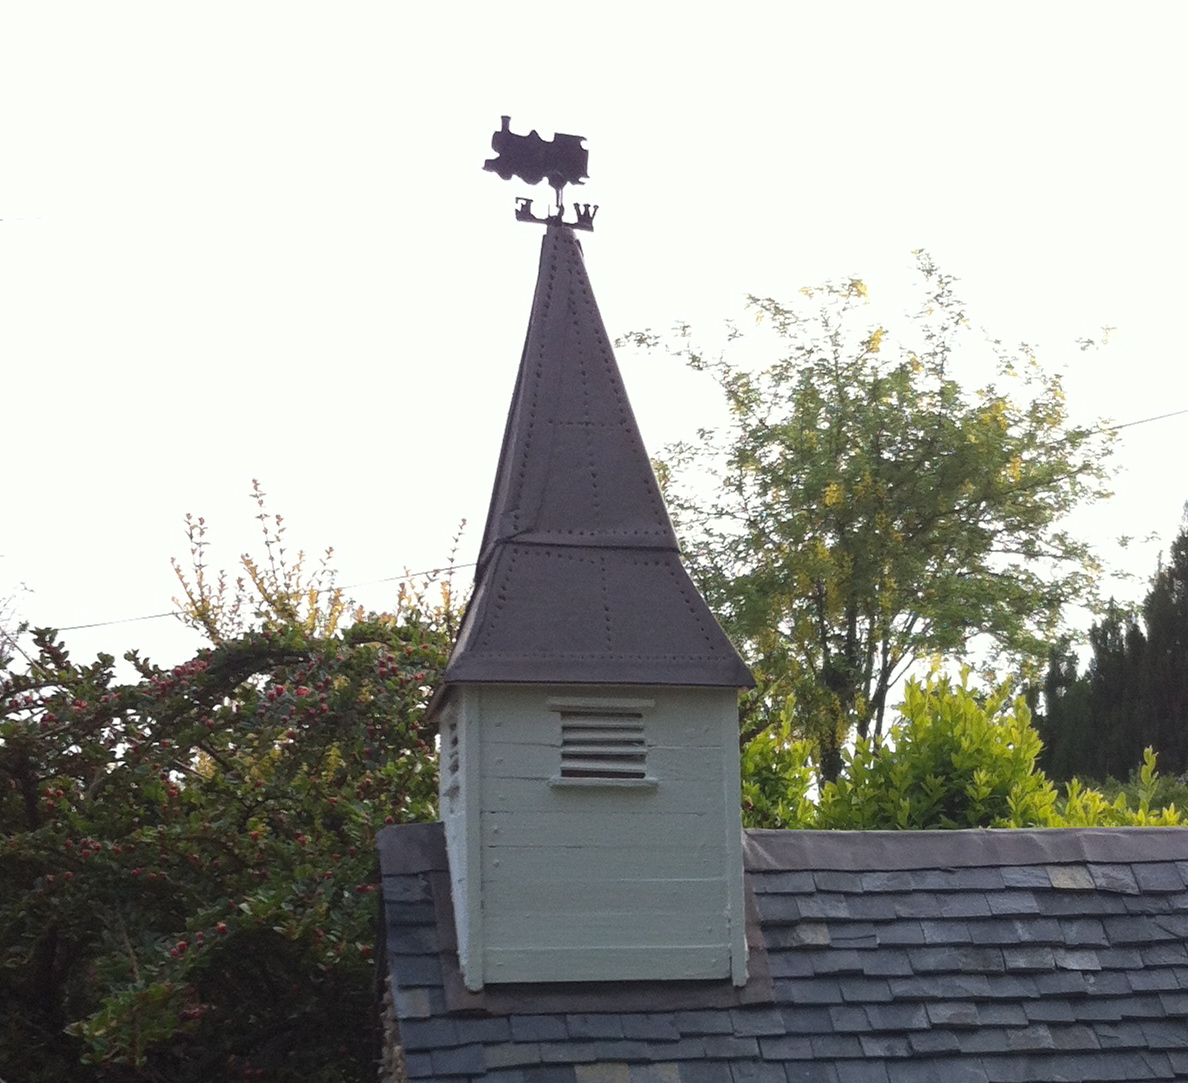
Well, there you have it a new bell tower for St Thomas Chapel, we think the Reverand Grubb will be very pleased.